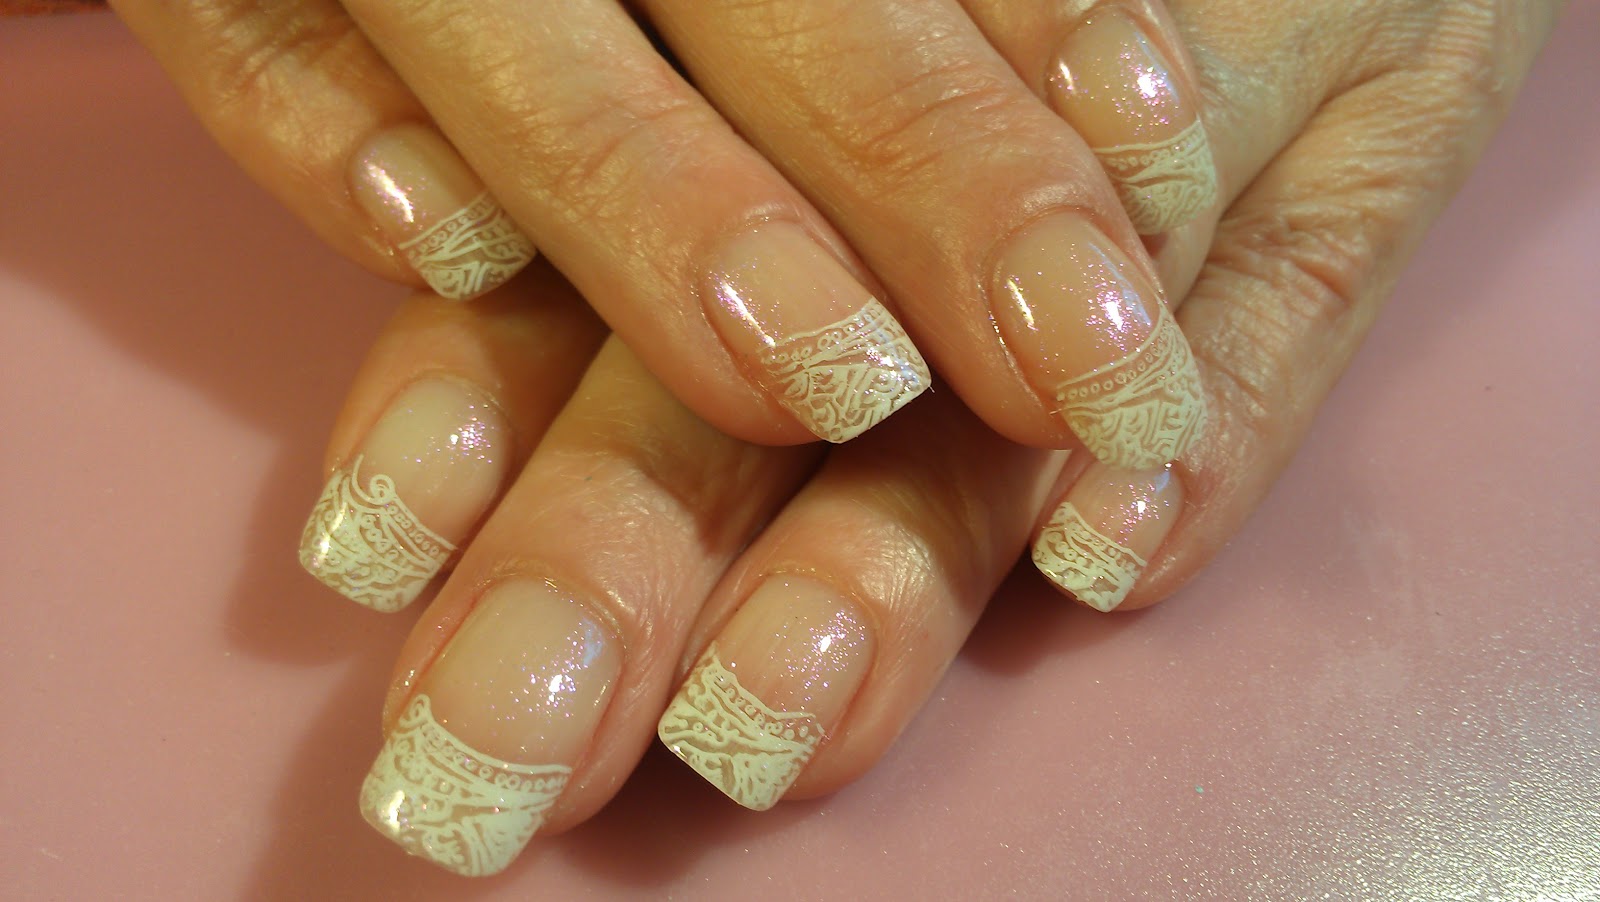
I'm always on the look out for affordable storage solutions. But lately the prices for any type of storage seems to be so high. A couple months back my nail polish drawers were becoming a little insane. So I broke down and started a search on various web sites and local stores. I don't know if you have seen the prices of polish rack, but they can get very pricey. But I was about to give up and just buy the best priced on amazon ,when a recommendation from amazon popped up. Spice racks! Yes, that's what I said. Out loud. I was so excited! The one they first showed was just alright. Made of wood and would have worked fine. But I started looking deeper into the spice rack category and came upon these adorable racks.And the price was right! There was even pictures that people sent in that used them for the same thing. At 15.00 dollars each with free shipping I could not pass them up. And I think they look better then the 50.00 dollar racks!
I will say that not all my polish fits. That's OK though, because I plan on getting 2 more this summer.
You can see in the picture that I have different kinds of polishes. All fit just fine.
The link to buy these on amazon... http://www.amazon.com/Spectrum-Wall-Mountable-Black-Scroll-Spice/dp/B001E8TLKC/ref=sr_1_1?ie=UTF8&qid=1338828414&sr=8-1
See you soon!
Monday, June 4, 2012
Friday, June 1, 2012
Super easy Peacock nails!
I know the peacock nail can seem hard. But the truth is, there is just a lot of steps. But it is in fact very easy. Which is why its in my top favorite manicure. I'm going to take you through a step by step video so you can get this really beautiful look.
Base color OPI Jade is the new black H45
Sally Hansen Grass Slipper 430
Magic Nail Neon Yellow 110
M.N. Copper 123
M.N. Pacific Ocean 117
M.N. Black 102
M.N. Dreamgirl 140
For top coat I used S.H. Clearly quick 110
I also used a small dotting tool and a fine art brush. But a tooth pick works as well.
A few other peacocks. The colors are endless as long as you keep the basic design of the feather.
Base color OPI Jade is the new black H45
Sally Hansen Grass Slipper 430
Magic Nail Neon Yellow 110
M.N. Copper 123
M.N. Pacific Ocean 117
M.N. Black 102
M.N. Dreamgirl 140
For top coat I used S.H. Clearly quick 110
I also used a small dotting tool and a fine art brush. But a tooth pick works as well.
The Video
See you next time!
How much my guy loves me....
How amazing is my guy? Although I think he loves to get pedicures from me. And boy do his feet need it sometimes! He works so hard.
The hot rod season is here, and my boys try to attend every hot rod car show they can. Its there thing. And I love that. They even have a old truck that they work on together. My son has been getting his hands greasy since he was 4 days old. Shane took him straight to the garage and showed him around.
So it seemed fitting to give him this pedicure.
I used Loreal Greycian Goddess 560.
And Magic Nail Neon Fuchsia 113 (nail art brush set)
For the Matte I used butter London
Turned out nice! And last night my son told me that its his turn today. Gotta love em!
The hot rod season is here, and my boys try to attend every hot rod car show they can. Its there thing. And I love that. They even have a old truck that they work on together. My son has been getting his hands greasy since he was 4 days old. Shane took him straight to the garage and showed him around.
So it seemed fitting to give him this pedicure.
I used Loreal Greycian Goddess 560.
And Magic Nail Neon Fuchsia 113 (nail art brush set)
For the Matte I used butter London
Turned out nice! And last night my son told me that its his turn today. Gotta love em!
Thursday, May 31, 2012
A gift from a dear friend.
I went to visit my dear friend Janelle today, who just got back from her road trip to Utah. She wanted to show me all her pictures and catch up some. She surprised me with gifts! A jar of honey and this really cute ring! I instantly started thinking of polish colors to accent the ring. This is what stood out during my search through my colors. I love the two together!
Sally Hansen complete manicure in Yellow Kitty #420
Base-S.H. double duty
Top coat- Seche clear.
And I primed my nail with Orly Primetime
Sally Hansen complete manicure in Yellow Kitty #420
Base-S.H. double duty
Top coat- Seche clear.
And I primed my nail with Orly Primetime
Wednesday, May 30, 2012
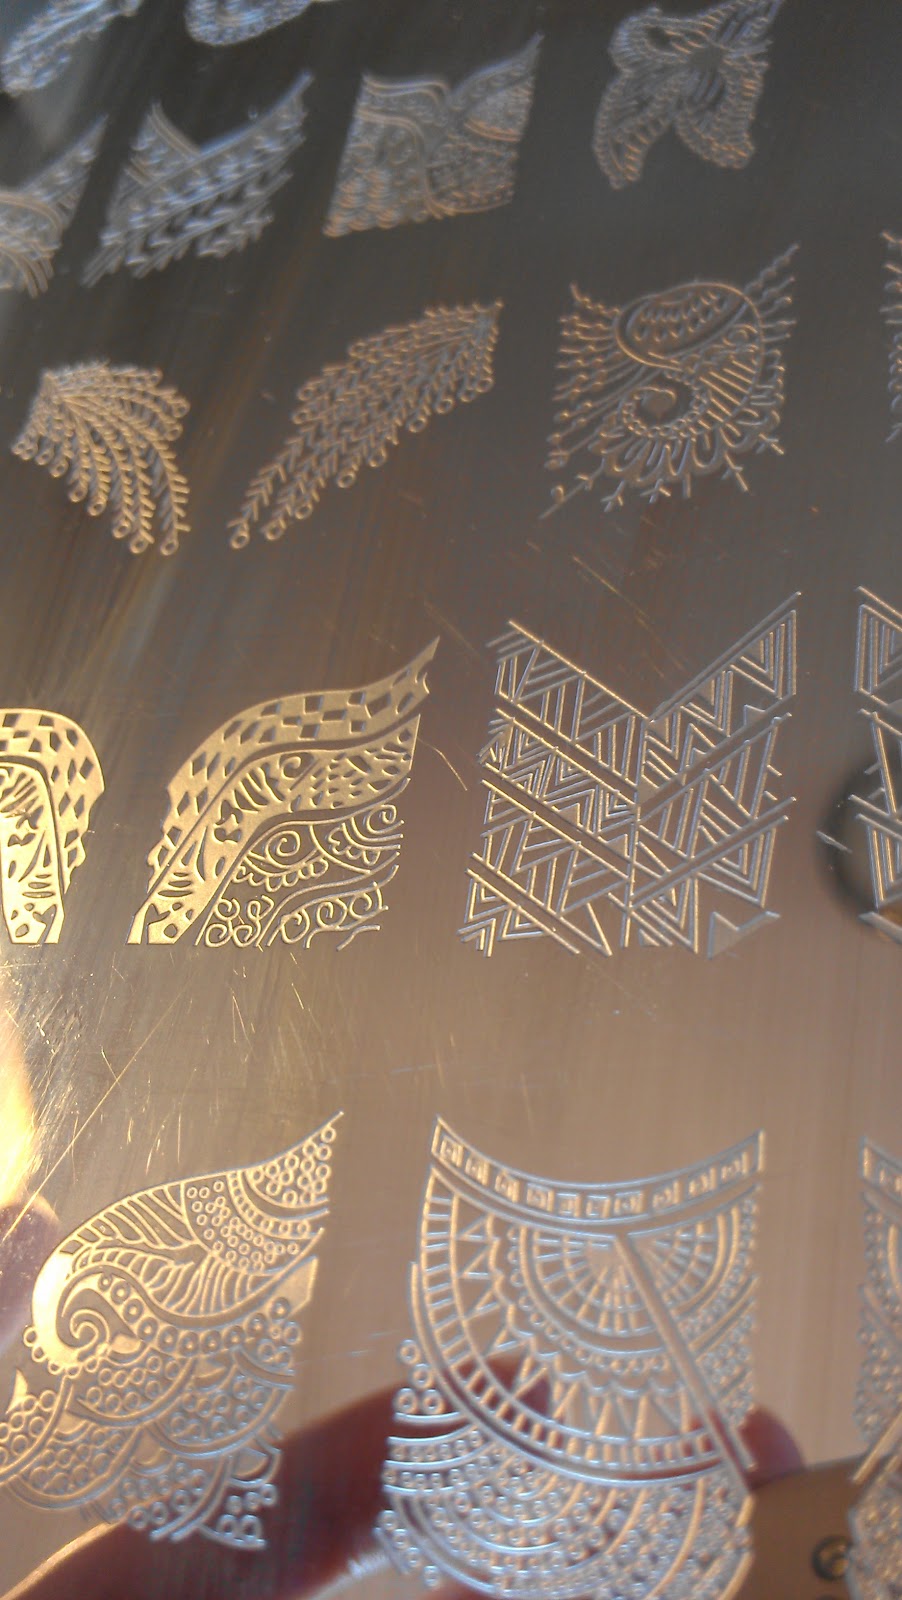
Cheeky Stamping plates.
- I'm so happy to be sharing this purchase with you. I ordered these plates about a month ago. And every time I use them I get even more excited! I have a set of stamping plated from Bundle monster that I ordered from amazon last year. These were such a disappointment. So I was a little nervous to pay money for another stamping product.
- I was doing some shopping again on amazon and because they show you products that are in the same category as your previous purchases, they popped up. They looked so pretty! And I am a huge paisley pattern fan! I so wanted these to be a good stamp.
- So onto the reviews and videos I went. They all looked good! So, I got em!
- I paid $45.00 for 6 plates.
- There are 342 stamps. ( some are doubled for the opposite hand!) Great idea!
- I have plates A<B<C<D<E<and I
- Pros: The image is cut with such precision. The laser they use to cut these must be a very nice one.
- Every image I have tried so far has transferred the entire image.
- The base of the plates is made to prevent the plate from moving while stamping.
- Some of these stamps even work great on toes!
- It seems I can use any nail polish I wish on these.
- I never had to purchase a new stamper. I use the one that came in the Bundle monster package.
- Each full nail image in about 1 1/2 inches wide. Konads is an inch.
- You are able to do a French tip with any full nail image because they put the arch in each one!
- Cons: Very long nails will not be able to have the full image plates fit.
- On some images there is so much detail on the nail after stamping with it that the details get lost. But you can see them still up close.
- You cannot use quick drying nail polish with these.
- Overall I am very pleased with this purchase. If your just starting stamping this would be best to start on. The lessfrustration the better.
-
The Cheeky Plates:
Plate A up close
Plate C
Plate E
Have fun Stamping!!! Like my facebook page for more nail art! http://www.facebook.com/Rainysunraynails
Tuesday, May 29, 2012
Here we go! My first blog post. Not everything is edited yet. Still playing with all the options. But for now I'm going to post my first nail tutorial.
This video I did About 2 months back. A Rat Rod inspired nail using marbling.
The products I used are as follows.
Base coat---Sally Hansen Double duty
First coat---- Magic Nail ( I purchased on Amazon) English breakfast 133
Marbling colors---- Magic Nail in Neon Fuchsia 113, Femme Couture in french sheer, And China glaze Liquid Leather 70576. And the English breakfast 133.
Top coat----Sally Hansen Insta-Dri
And Finally-- butter in Matte finish
For marbling you will need: A glass or shot glass( I have never been able to use a plastic cup for marbling)
Water ( I live in the Northwest and have been able to just use my tap water. But I know a lot of people need to use bottled)
An old towel or paper towels for easy clean up.
Tooth picks,
Q-tips to clean with polish remover around edges of nail.And then some sort of a tool to form the design in the polish. I used a dotting tool. Its easy to wipe off.
http://www.youtube.com/watch?v=NGZlTXzpwhA&feature=plcp
I hope you enjoyed this! See ya soon!
This video I did About 2 months back. A Rat Rod inspired nail using marbling.
The products I used are as follows.
Base coat---Sally Hansen Double duty
First coat---- Magic Nail ( I purchased on Amazon) English breakfast 133
Marbling colors---- Magic Nail in Neon Fuchsia 113, Femme Couture in french sheer, And China glaze Liquid Leather 70576. And the English breakfast 133.
Top coat----Sally Hansen Insta-Dri
And Finally-- butter in Matte finish
For marbling you will need: A glass or shot glass( I have never been able to use a plastic cup for marbling)
Water ( I live in the Northwest and have been able to just use my tap water. But I know a lot of people need to use bottled)
An old towel or paper towels for easy clean up.
Tooth picks,
Q-tips to clean with polish remover around edges of nail.And then some sort of a tool to form the design in the polish. I used a dotting tool. Its easy to wipe off.
http://www.youtube.com/watch?v=NGZlTXzpwhA&feature=plcp
I hope you enjoyed this! See ya soon!
Subscribe to:
Posts (Atom)


.png)