Saturday, June 30, 2012

Day 7! Retro Lovely

The final design is on sister in law Jamie. I call this Retro Lovely. The shape of her nail really holds this design well. I am thinking of doing a tutorial for this mani. If you're interested let me know!
I did marbling in orange and white then added the other details. So cute!


Thanks for stopping by!!!
See you soon.

Friday, June 29, 2012

Day 6 of 7. Checkers!

These were done on my very dear friend Janelle. Two of her favorite colors. Although the deep purple looks black, in natural light the purple comes out. Another Cheeky plate stamp. I love these plates!
She also picked the stamp. She wanted the green to be seen. They came out really amazing!


See you tomorrow!

Thursday, June 28, 2012

Day 5 of 7 mmmmmm.....

This yummy mani was done on Danielle. I call this "chocolate caramel". I have done this design many times and I never get bored with it. On her ring fingers I matted her nails. So, do you like your chocolate melted or like a chocolate bar? Either way these nails make you crave some!


See you tomorrow!

Wednesday, June 27, 2012

Julians nail tutorial

My little guy has been asking to film his own nail tutorial for a while now. So today was the day! He did such an amazing job! He is my biggest fan and I love that so much. He is always in my nail room watching and asking questions. So if this whole cowboy thing doesn't pan out for him.....
I hope you enjoy the video as much as I enjoyed making it with him. I was so surprise at how much he paid attention to what I was doing when I filmed.


Not bad for a little goober!
See you next time!

Day 4 of 7

Ok this mani was done on my sister in laws sister(Krissa). She was really eye balling the magnet polish. I am loving the magnet look! I should point out that I used China Glaze 3 in 1 magnet and not the magnet that came on the lid of Finger paints.I have never had any luck with the magnets that come with the polish. I picked up the China Glaze 3 in 1 at Sally beauty supply. Hope you like it!


See you soon!

Tuesday, June 26, 2012

Day 3 of 7. A 2 for 1!!!

Today I'm showing you 2 designs. I have had many comments from women who think they are not able to have a awesome Mani because of there short nails. Well I'm here to tell you different! And show you!

 My sister in law(Danielle) had her friend Kristen come over for a Mani. And I was like, the more the merry! So, we went through our options and she decided on marbling. Then she picked her favorite colors.I think this mani would be perfect for Valentines day.So pretty. Even on short nails.

The 2nd design is Danielle. She often wears greys and whites. So those are the colors she picked. I think its a little Tim Burton like. Very elegant and wearable.
Side note: I put cuticle oil on after marbling mani because of the acetone I use to remove extra polish. That is why the cuticles look shiny in the pictures.


                                                                             Kristen's

Danielle's

Any questions? Comment below.
See you tomorrow!

Monday, June 25, 2012

Day 2 of 7.

Today Im showing you a stamped nail. I used the Cheeky plates for this stamp.
This design was done on my sister inlaw Jamie. She picked the color and stamp. I think the combo came out so nice!


                                                                     See you soon!

Sunday, June 24, 2012

7 Days of new Nail Art

I was so excited to visit family this past week. And of course I brought all my nail supplies in hopes that I would be able to give some manicures. We were all very into it and I even got to do some nail art on friends of the family. The popular trend seemed to be the marbling. I love to give marbling manicures!
So I'm going to show you a new Mani daily for the next 7 days. Starting with...


These were done on my cousin Krystal. She named them "surfs up". Which I must agree with! They for sure remind me of the beach.
She wanted to incorporate her favorite colors.Then we put a stamp on 2 fingers and Matted out 2 more And I think they turned out amazing!
For more picture of this mani visit Krystals Blog! http://www.beautybykrystal.com/2012/06/kristins-nail-design-surfs-up.html


                                                                       See you tomorrow!

Monday, June 11, 2012

Amazing nail polish deals!

I'm really not a big fan of paying full price for nail polish. Especially when I know if I wait there will be a sale or a coupon.
Around memorial day weekend Sally Beauty Supply was having amazing deals on line.Then I had a free polish from Ulta who was also having a sale on polishes. I had a rewards points for the free polish. So, the items I ordered from Sally Beauty finally arrived and I wanted to share with you all.
The colors are beautiful and I'm excited to try them out.


See you soon!

Saturday, June 9, 2012

Nail Bandages review

Stop! Don't clip that broken nail just yet!
Don't you hate it when you're about to head out the door and go out for the night when your nail breaks?
Well my mom found this amazing product to fix just that.
When she would break a nail I would fix it with  nail glue. Which is just like super glue really.
Well I still do that process but I then put this product on for a longer lasting fix.
I have used this 3 times now. And it has lasted about 2 weeks. It stays so well that I'm taking the old bandage off every 2 weeks for her new color. So I included a How-to video for this product.
I also put some pictures in this post to see if you can tell where its torn.
I'm not saying it will last forever. But it's nice to know that there is a product out there that can work this well.


       The product is called Invisible Nail Bandages. By Calico
After Bottom coat.


How to Video For Product

See you soon!


Friday, June 8, 2012

3 in 1 Cherry Blossom designs W/Video

For this tutorial I used:
A fine nail art brush
A small dotting tool
Tweezers
Makeup sponge (a small piece)
The colors I used:
Orly in Gumdrop 40733
Essie Little Brown dress 640
S.H. Vivid 08
S.H. Hard as Nails 110 White( any white will work)
Magic Nail art polish 112 and 114( but choose your favorite pinks)

For the french tip Blossoms And Orly Gumdrop I finished off with CND Effects
For the antique Blossom I finished off with Matte from Butter London
For My base on both hands I used Double duty By S.H.
You can see here that My middle and pointer finger have been sponged to look antique.

A close up of the Matte Antique.
French tip Cherry Blossom


Thanks for stopping by. See you soon!

Thursday, June 7, 2012

Manicure Bowl

I suppose I could have gotten a plain white or clear bowl for giving manicures, but that's just not me. So when it came time to purchase one I made sure it was something that I really loved. I also wanted the person I was giving the manicure to, to feel pampered. Like, there hands were in good hands. So to speak.
I also did not want to spend an arm and a leg for a bowl. I went to many store which included Pier 1, Hobby Lobby, and Bed Bath Beyond.
In the end I found this at Michael's craft store. I don't know why I didn't go there first! There are 2 Michael's near me. I first spotted this at the one South of where I live.The price was going to be around 30.00 incl Tax. As much as I loved it I had to say no.
In the following days I had to go back to Michael's for something non related. This time I went to the Michael's closest to my home. Of course I wondered over to the section where the bowl was. But at this Michael's it was 40% off! And I had a 20% off coupon on my entire order! Yes! So I paid 14.00 dollars incl Tax.
I do love this bowl. They also had this in 3 different colors. A almost burnt orange and a deep Purple.
But my nail office has quite a lot of those colors as it is. I wanted the bowl to pop.
My clients really enjoy the bowl as well.
See you soon!

Tuesday, June 5, 2012

3D nail stamp

I did this design on my moms toes last weekend, and it turned out so cute, I just had to share.
I used Cheeky plate C. The image look similar to a fern. Very dainty.
My base and top coat are from Seche clear.
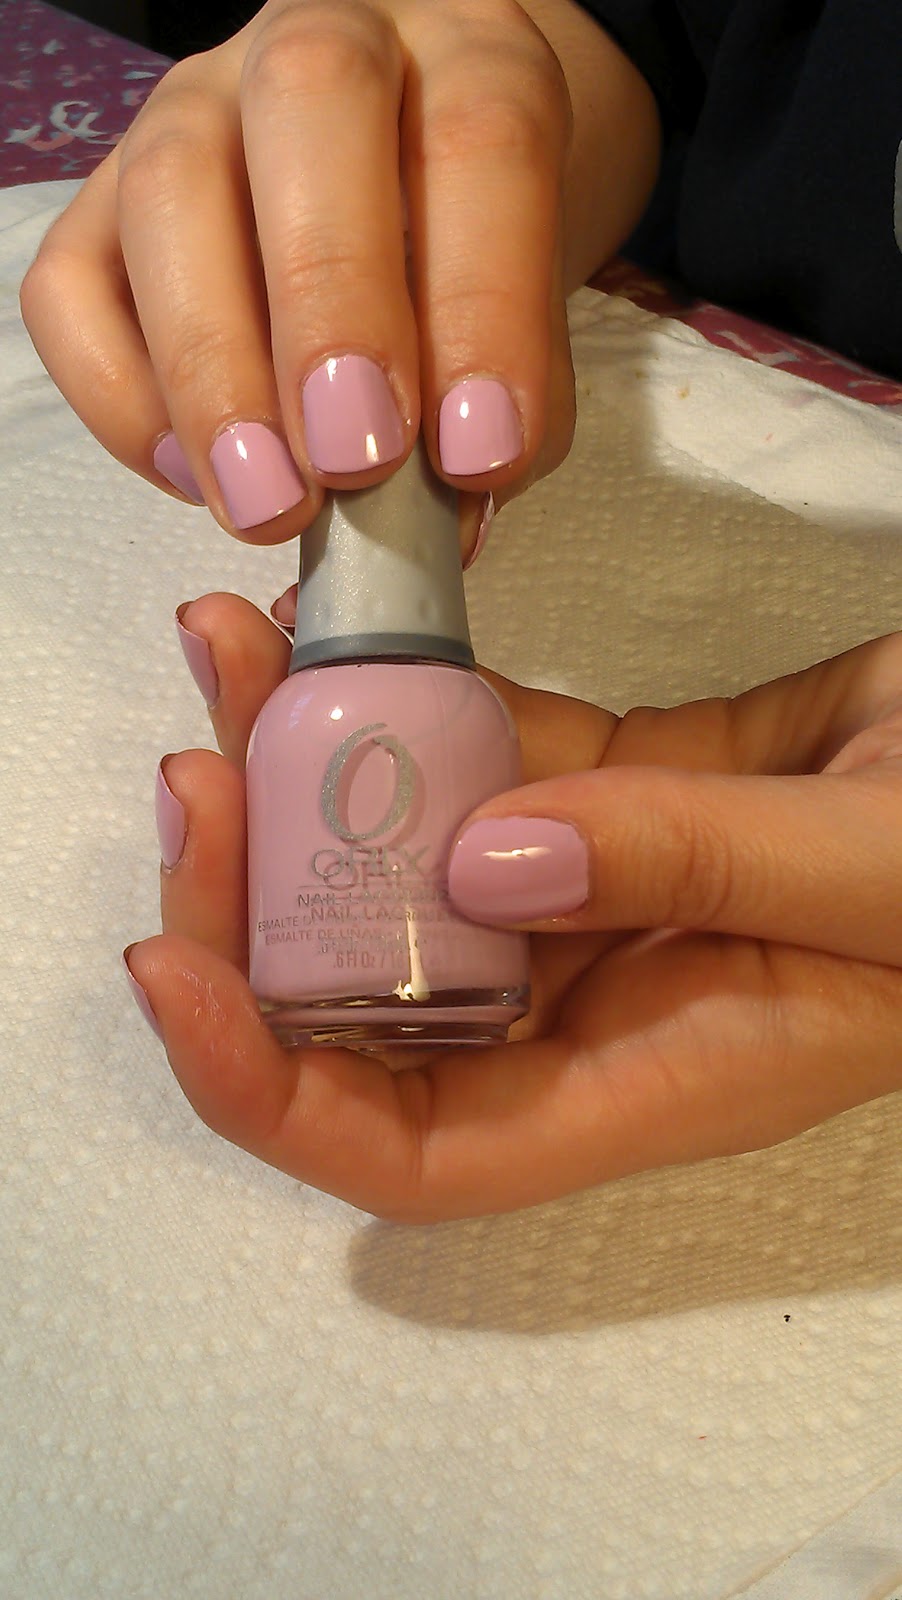
Base color is by Orly in Lollipop 40729
I actually stamped with 3 colors, but if you only would like to do one color it turns out beautiful.
The first color I used was Sally Hansen Yellow Kitty 420
Then I used my M.N. In just white.(Any white will work so long as its not fast drying)
And the final stamp was from Sally Hansen in Cherry cherry bang bang 414

When using all colors its looks better if the stamps are off a little bit. Gives it the 3D effect.
Also, My fingers are shiny because I put cuticle oil on after cleaning with the acetone.
I hope you like this!

Two coats of the Orly.

You don't need a lot of polish. The scraper does all the work.
Clean around the edges with polish remover.
Finish with a thick top coat. Light brush strokes as to not smear the image.
Finished!


See you soon!