

I have been wanting to do this for such a long time! I had not tackled it because I was trying to come up with the easiest way to do it so I could share with everyone. After 3 trial and errs I finally figured this out. My hope is that you don't need to go thru what I did to have this awesome pedicure!I also hoped to able to marble all my toes. But alas, I was not able. But I cant tell you how thrilled I am just to have the big toe marbled! And to have the little toes a full color I think help the marble to stand out more.
First I set up my station area and made sure I had everything I needed. I didn't want to have to get up once I dipped My toes.
I have a light because my lighting is not to good on the floor.
Tape,Polish I will use,tooth picks,dotting tool and a place to put the used tooth picks.
Place a rag or old towel down. I also put a paper towel on top of that for easy clean up.


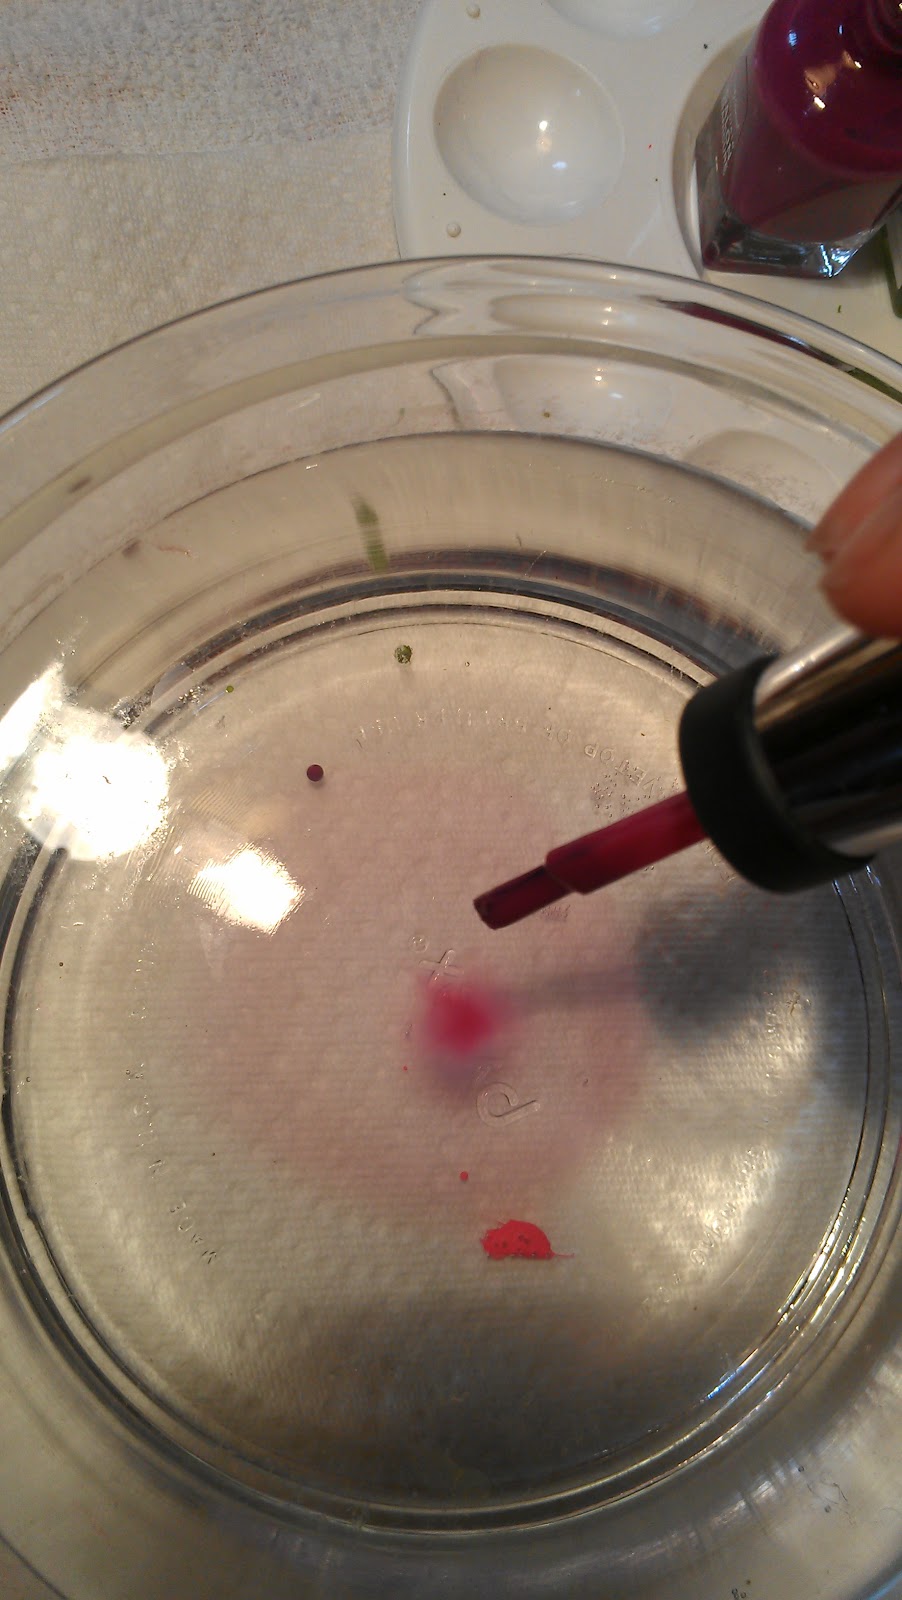
The first glass dish I used was the rectangle one. I was thinking at the time that the shape would be perfect for dipping all my toes in. Well the polish did not spread as it should. So I got my small round one out.But in the end I just used my glass that I use for marbling fingers. After realizing I wasn't going to marble every toe, that one worked best. Ill bet you could even use a shot glass.


I started with this combo first. I was just grabbing colors that I loved. I applied a base coat and then one coat of Sally Hansen complete manicure in Cherry Cherry Bang Bang 414
I then started taping the next 3 toes. No need to tape the pinkie toe. You wont dip your foot that far into the water.And then taped my pig toe.
Start dropping your colors in.I'm using the cherry cherry bang bang again and Grass slipper 430 also from S.H.

Once you have a nice marbled effect, go ahead and dip your toe. Don't stand while doing this unless you have someone to help to get the access polish with the tooth pick.


This is after I took the tape off and cleaned up the edges with polish remover and q-tip.

I really wanted my toes to pop. As much as I love this combo, I took it off and picked out other colors. I chose similar colors to the Surfs Up marbling I did on my cousin Krystal.

No need to take off the tape that was on my little toes. Waste not...
I applied base again and one coat of white.
This time I used China Glaze in Snow 818
S.H. Blue Me Away 130
and Finger Paints in Tangerine Tint 806202


I repeated the same process.


Next I took the tape off carefully, cleaned up the edges and put on base for my other nails.
Then I put one coat of the Blue Me away On the other toes.

I wanted a little more sparkle so I added Glitter top coat from Ulta.

And last I finished with Seche Fast dry top coat.

Some pictures with different lighting.


I hope you try this out!
Thanks for visiting!
beautiful!!!!!
ReplyDeleteThanks so much! Was so fun to do.
DeleteI need to stop playing around and do this!! It looks too cool, first one I've seen on toezies!!
ReplyDeleteHave you seen my howto video on marbling? I love marbling! Thanks for stopping by girly!
DeleteLoved this. Can't imagine doing that to your own toes. Can't wait to have you do mine!
ReplyDeleteYes,I do think it would be easier for me to do this on someone elses toes. But still fun!
DeleteThere is shocking news in the sports betting industry.
ReplyDeleteIt's been said that every bettor must watch this,
Watch this now or quit betting on sports...
Sports Cash System - Robotic Sports Betting Software.